The AI function within Tool 2.5 allows you to create project outcomes without speaking with a customer.
BACKGROUND
What does the AI function do?
It allows you to run AI queries that can return customer outcomes for your project.
When should this be used?
It should be used as often as it can provide useful information. It's recommended to use the AI function before interviewing customers to get a head start on outcome gathering.
Does this mean that we don't need to interview customers?
Not at all. This is part of the divergent Discovery phase. We don't have any idea how significant or real these problems are.
HOW DO I USE THE AI FUNCTION?
1. Create a Discovery Interview "customer" or "interviewee."
In the example below, we call it "AI Interview."
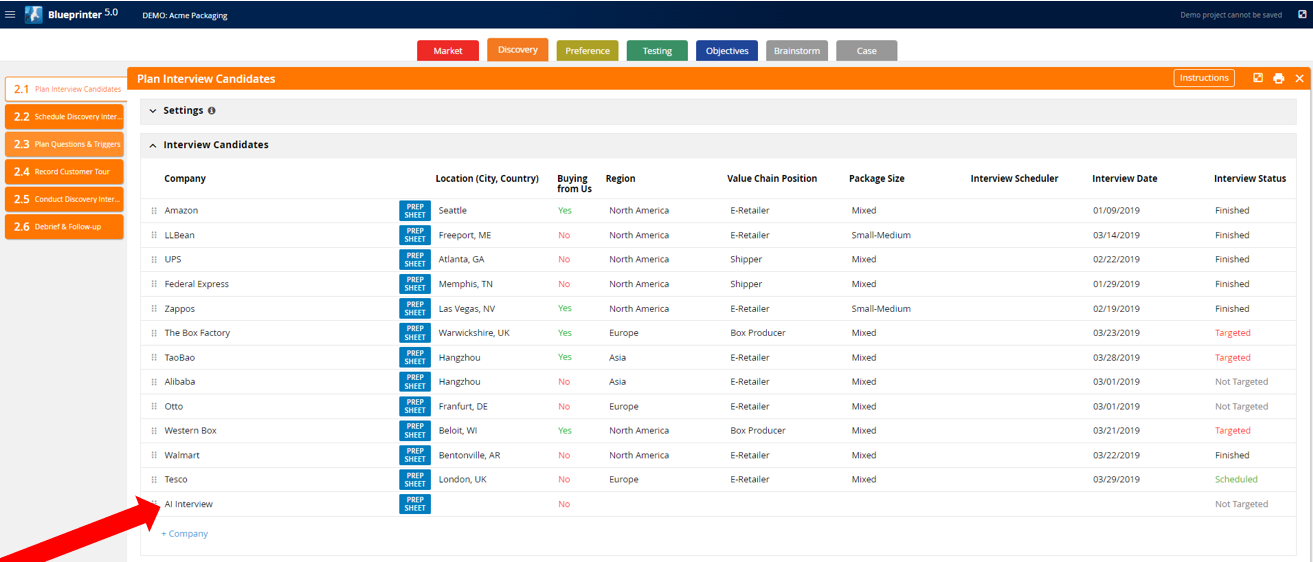
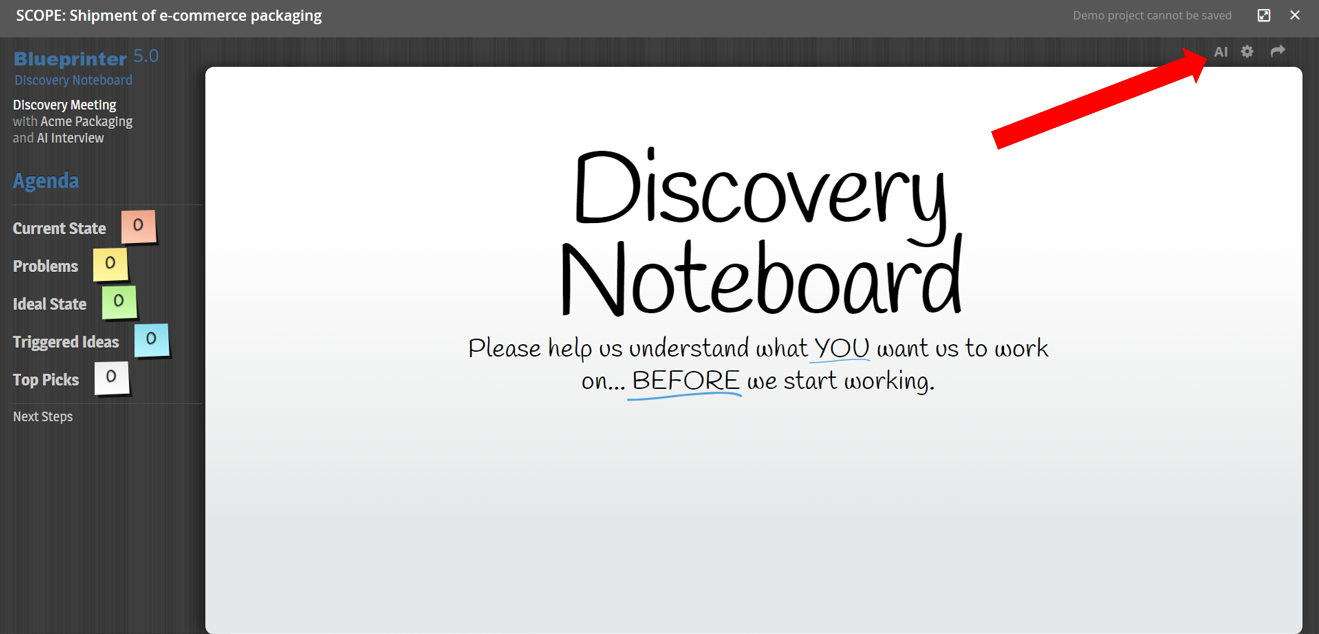
2. Go to the Discovery Noteboard (in Tool 2.5), open this "customer," then select "AI" in the upper right-hand corner.
3. Select the AI settings.
This brings up a template that will generate AI prompts for this session. Let's go over the information types that you will add.
Job Executor: This is the role of the person you'd like to "interview" with AI. The term "Job Executor" implies the person executing a job within jobs-to-be-done terminology.
Context for Job Executor: You can add more context below the Job Executor. This phrase should describe the Job Executor. It typically should begin with a leading phrase such as "who are" or "of." It should make sense if listed right behind the Job Executor. For example:
- Manufacturers of cardboard boxes
- Chefs from Italy
- Distributors of plumbing supplies
Job (or Topic): This is the topic you'd like to query AI about. It's best when written as a job statement, meaning it should begin with a verb. It should ALWAYS begin with a VERB. Gerund versions of verbs should be fine as well.
Context for the Job: Additional context about the Job to be queried. This context should modify the Job above. For example:
- Building homes for energy efficiency
- Assembling boxes for e-commerce packaging
- Designing mowers in the United States
Precision: This is the precision of the outcomes you're seeking. The higher the number, the greater the precision; you will get more detail for each outcome. The lower the number, the lower the precision with greater abstraction. We have found 18 to be a good precision level in general and, therefore, is the default.
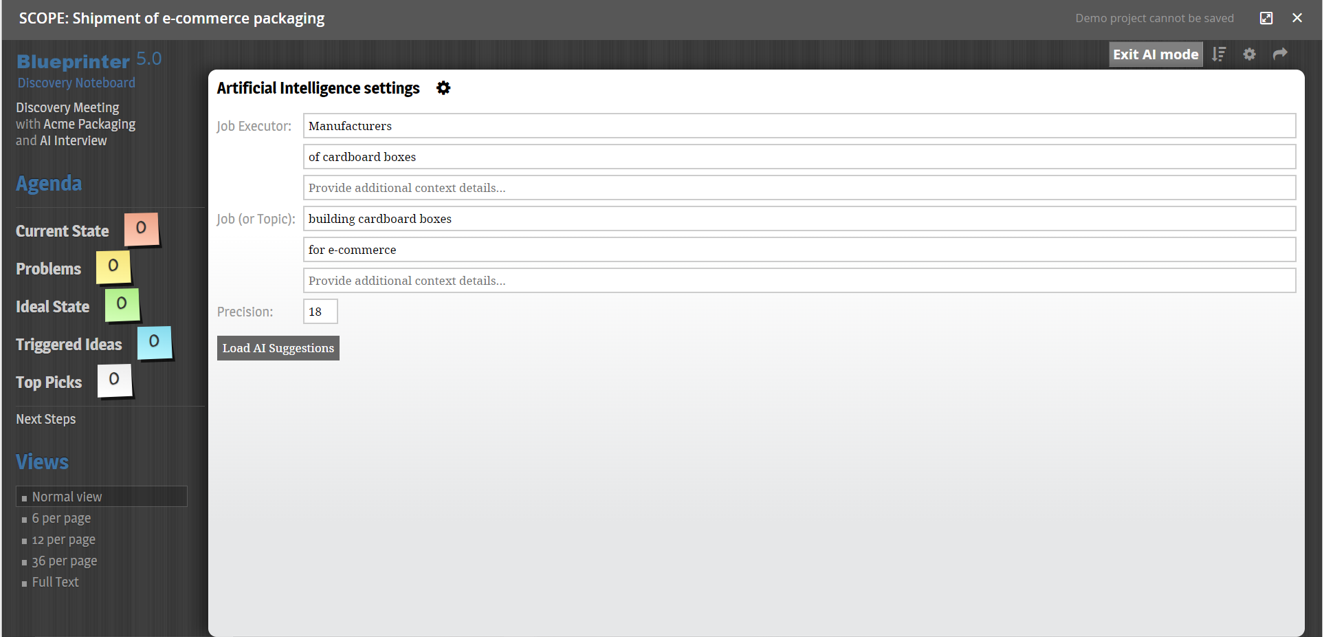
4. Once satisfied with the settings, select "Load AI Suggestions."
This often takes several minutes to complete.
5. Evaluate each one, and select "Accept" if you'd like to include this within the outcome set.
When doing so, it will turn from silver to yellow.
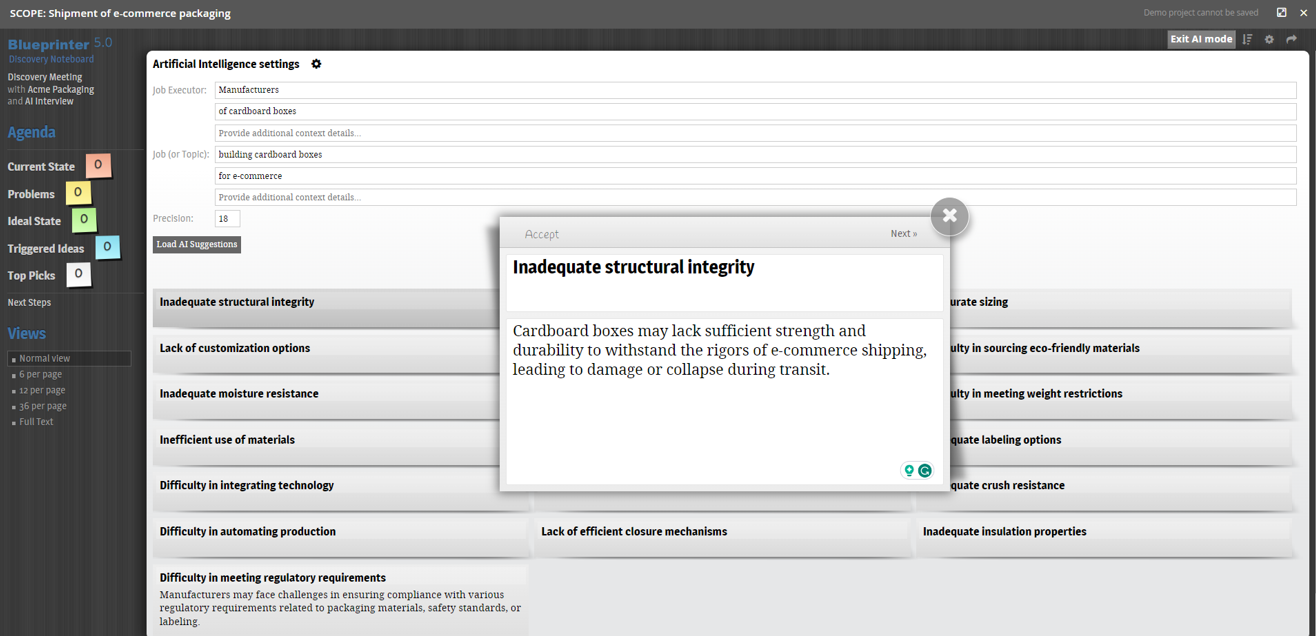
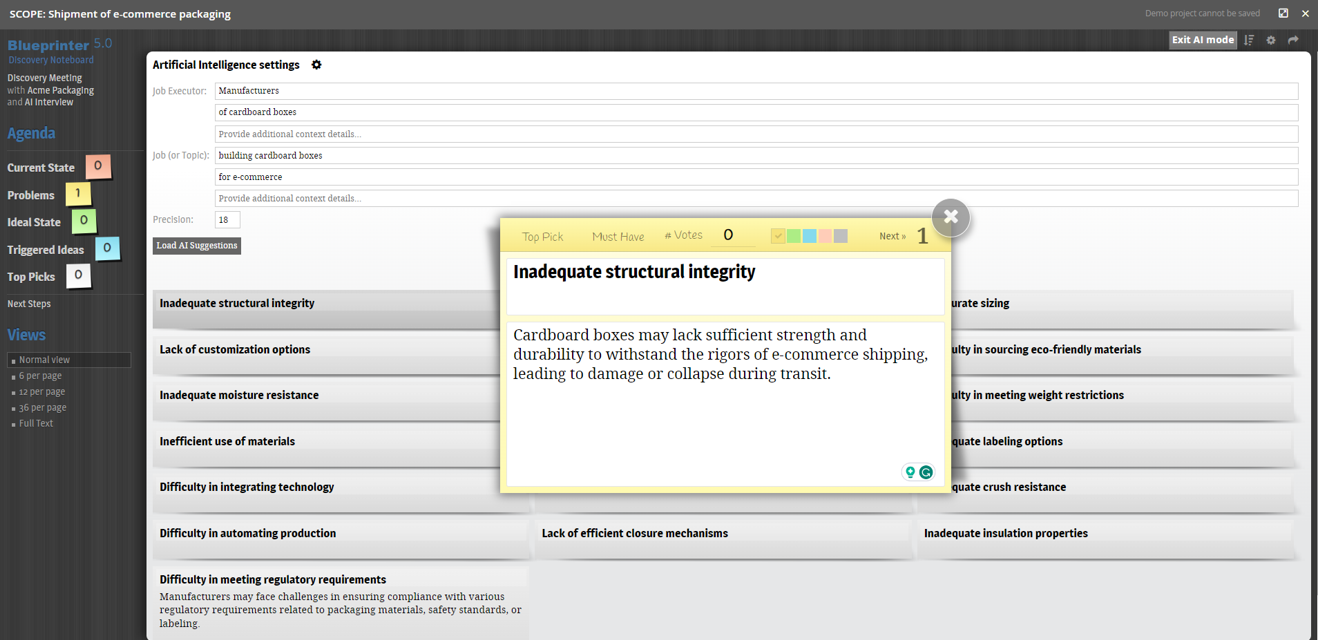
"Accepting" is a critical part of the process since some AI results may not be reliable. It's up to you, the practitioner, to look at each one and determine whether to accept a problem or not. If not accepted, it will not show up in a PDF output document and cannot be selected as a "Top Pick" to continue throughout the process. Further, if you do not "Accept" them, then this information will NOT be retained.
6. Write an outcome statement that best summarizes the outcome.
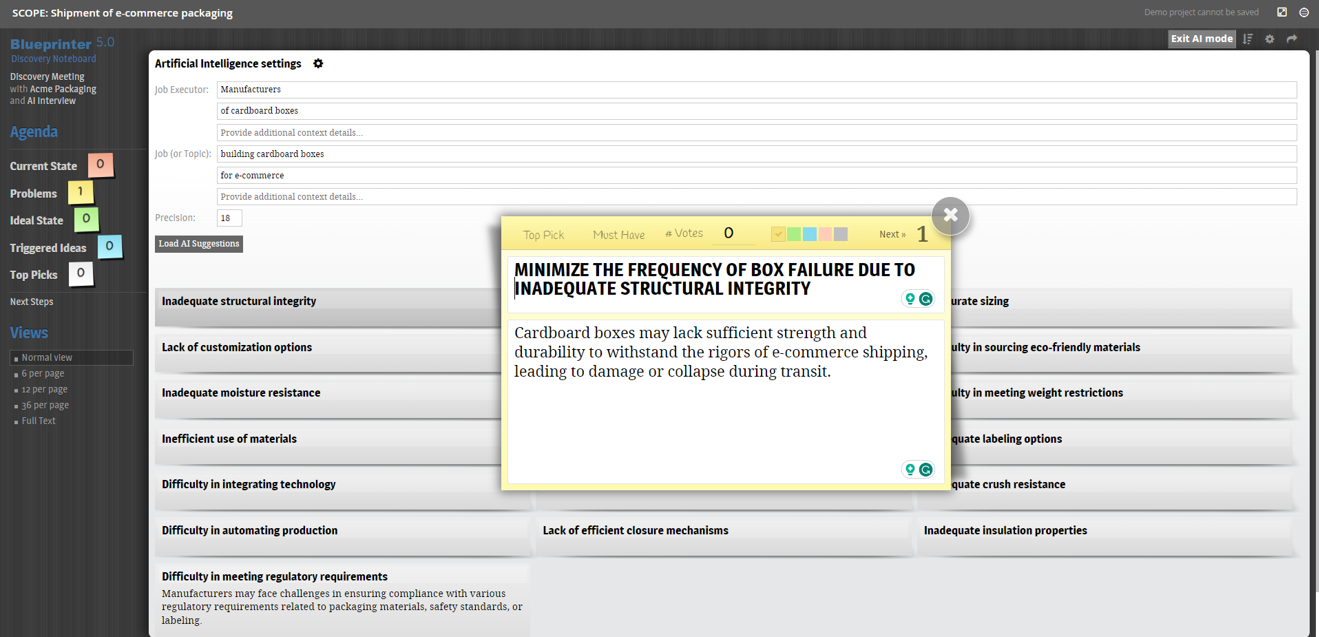
You can also craft your own AI prompt by selecting the gear icon (just to the right of Artificial Intelligence settings).
For a demonstration of the AI feature, please watch the video below:
