In addition to Preference Interviews, you can build, launch and manage a customer survey within Blueprinter. Further, you do not have to commit to either Preference Interviews or Surveys, you can do a mix if you choose.
Let's walk through the steps to use Tool 3.5: Conduct Preference Survey.
1. Select Tool 3.5: Conduct Preference Survey
Begin by selecting Tool 3.5: Conduct Preference Survey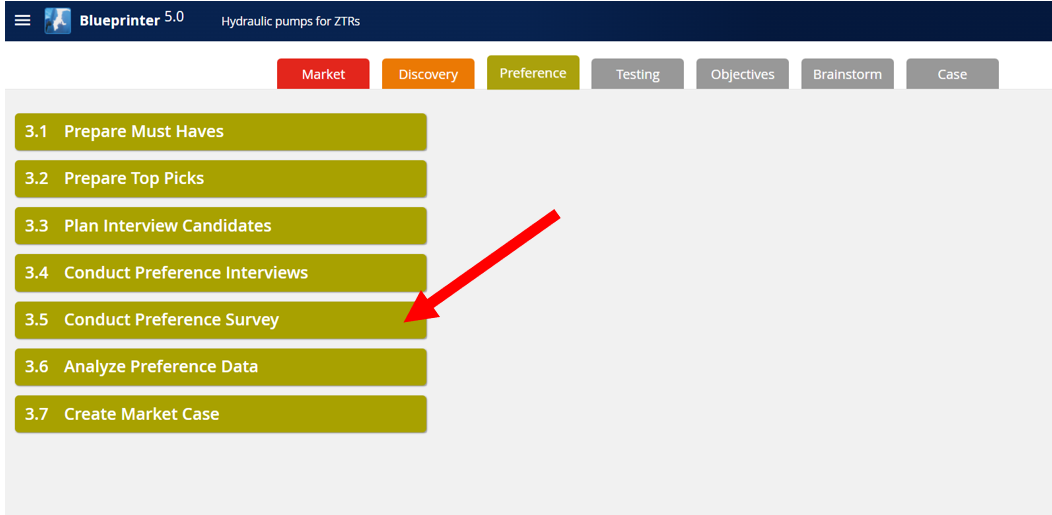
2. Configure the Survey
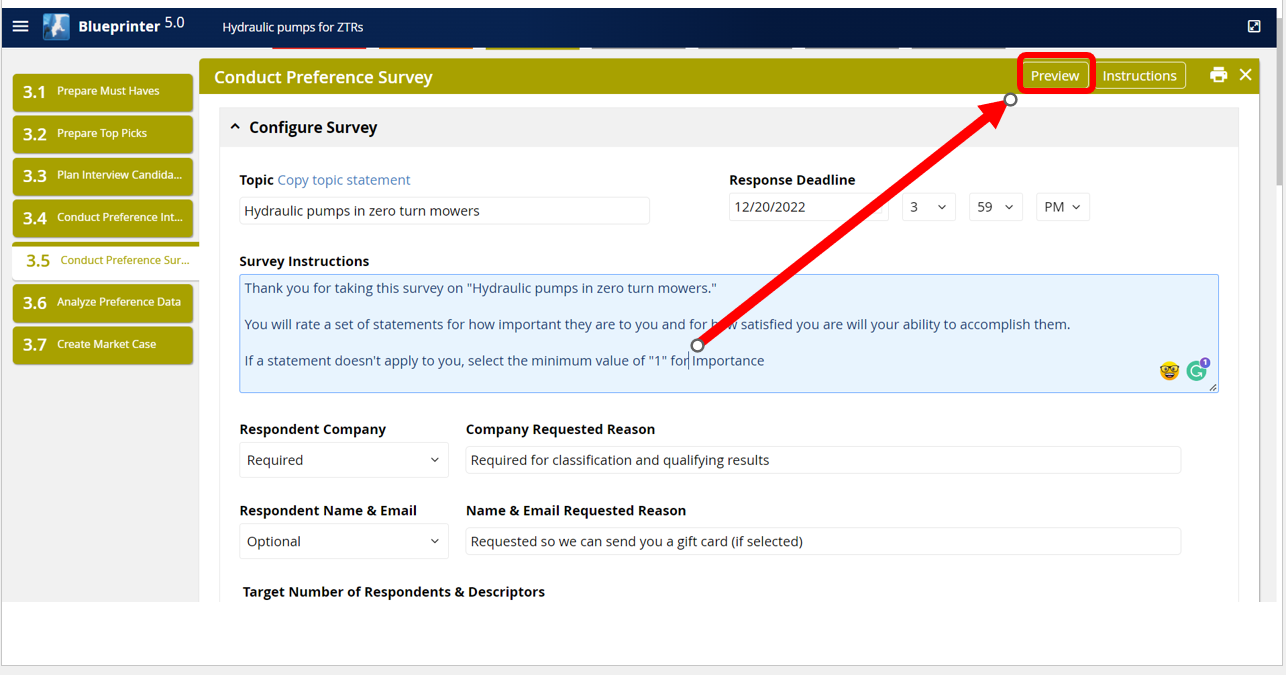
You can start by selecting a Topic and a Response Deadline. The topic will flow through the survey into the instructions and email suggestions, though they can be changed later. Consider putting the Response Deadline sufficiently out in the future for all respondents to be able to take the survey.
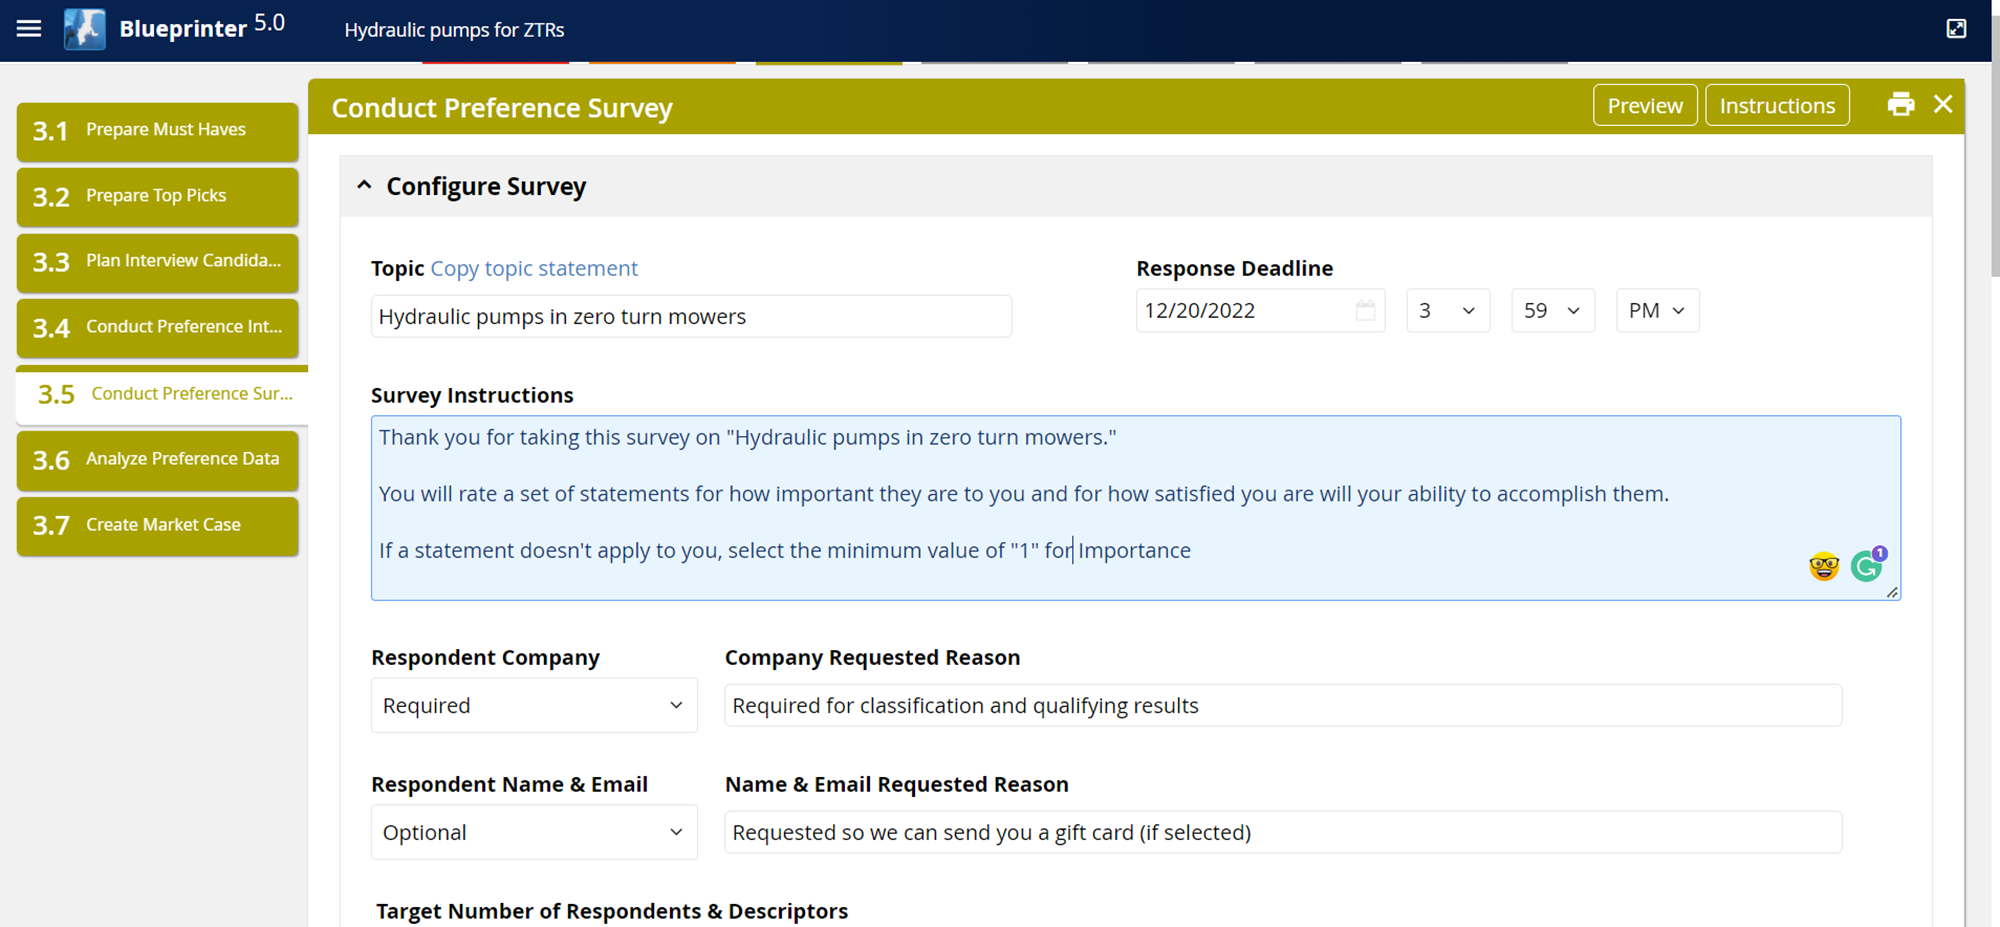
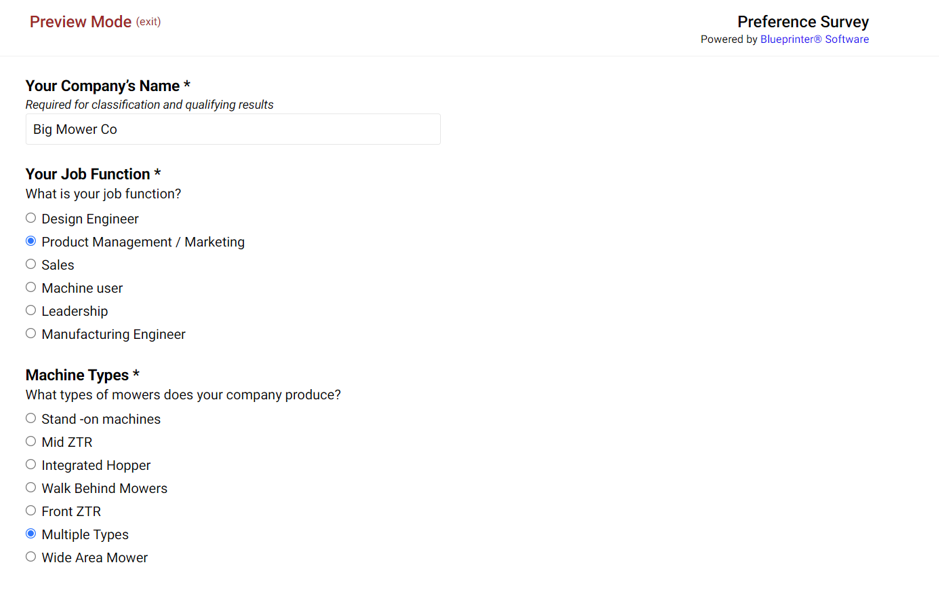
Next, decide if you want to make a respondent's Company, Name, and Email required or optional. Making the company required could be a deterrent to some, but this can be critical information that you might need to know. Whether or not you make the respondent's name and email required, be careful about using the survey data to follow-up for sales purposes as this can be offputting for some.
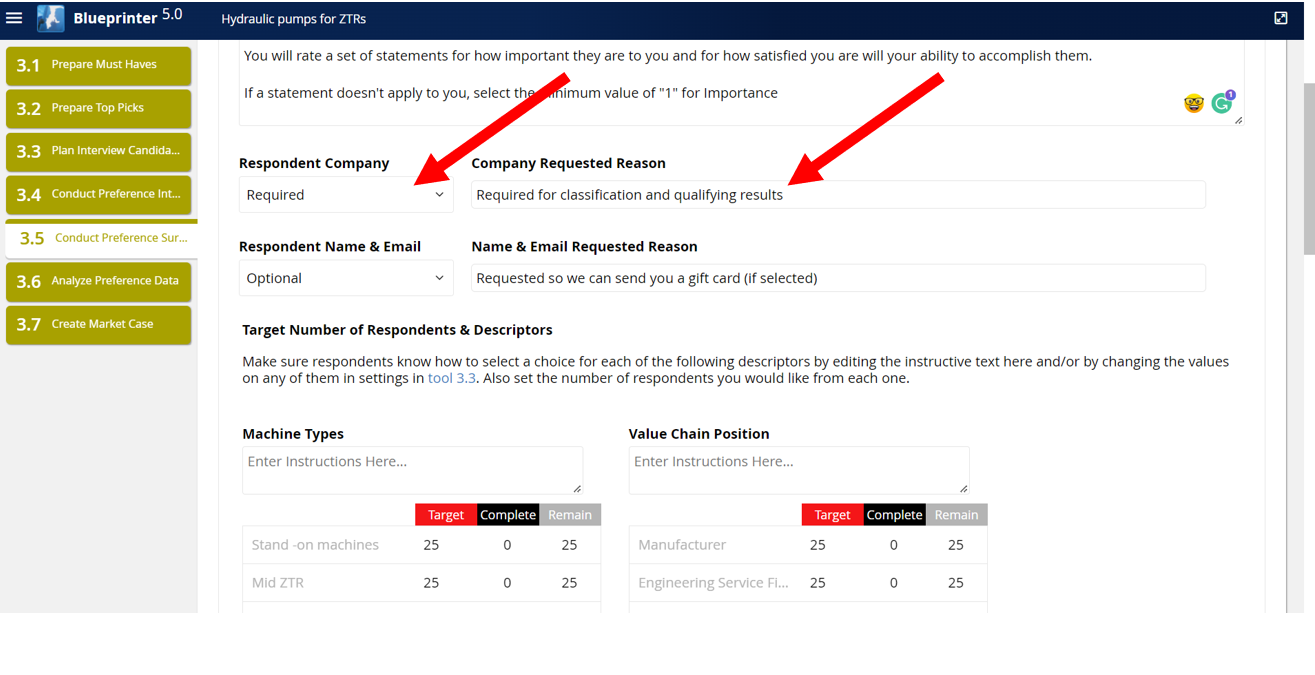

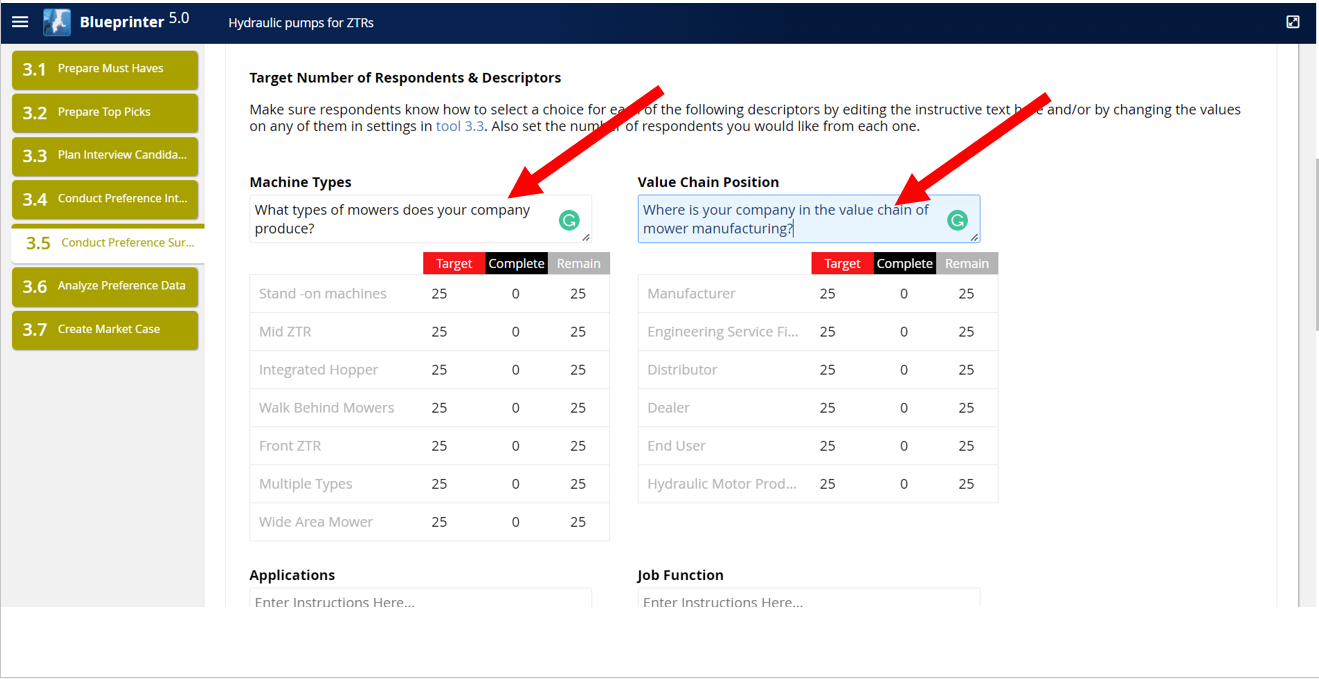
3. Build Sample Design
Next, you'll build your Sample Design by selecting the minimum number of respondents from the various Settings you created earlier in Blueprinter. You will also use this screen to track progress towards filling your quotas of respondents.
Please note that you'll also need to provide the instructions for this section when respondents categorize themselves.
4. Preview Survey
Now, we're ready to launch the survey! First, make sure and view a preview of the survey. To do so, return to the top and select the "Preview" button.
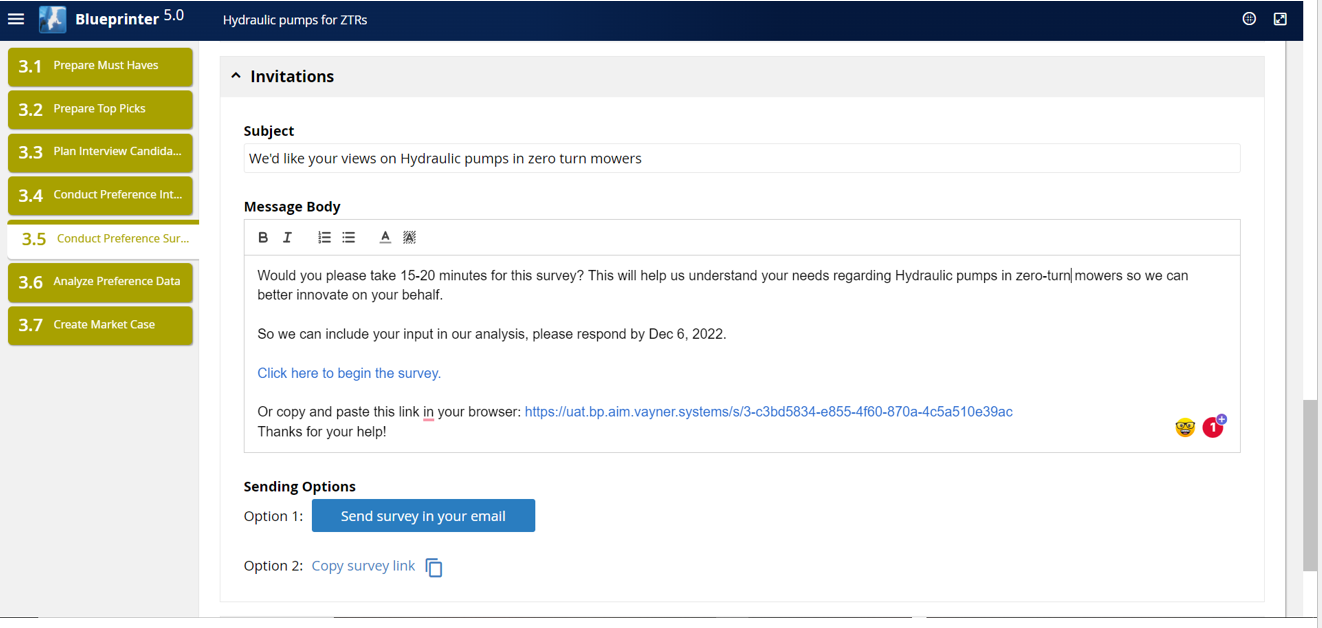
5. Launch Survey
You've made your sample plan, added survey instructions, previewed the survey.... so it's time to launch!
You will launch the survey via email. Either use the template within Blueprinter that will open an email in Outlook, or, just copy the survey link. The survey link works well if you want to use your email service, database, mail merges, etc.
If using the auto-generated email from within Blueprinter, make sure and edit/review the suggested text.
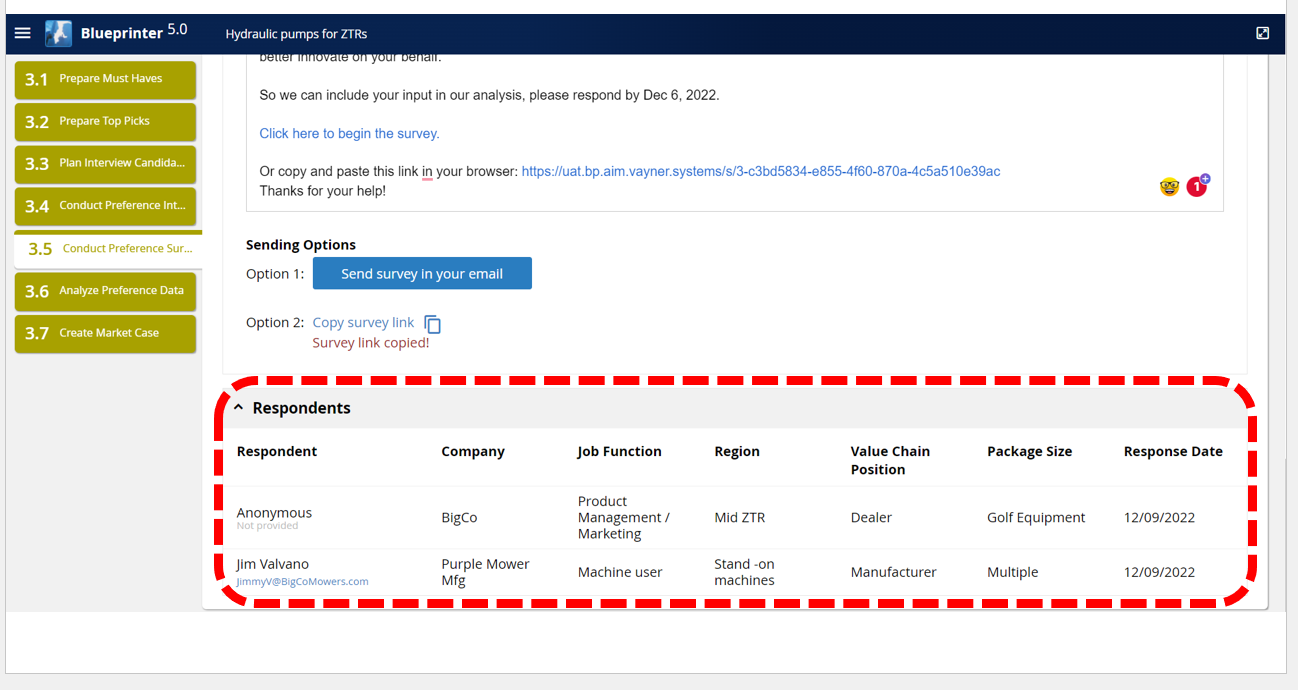
6. Track Results
Track progress at the bottom of the tool.
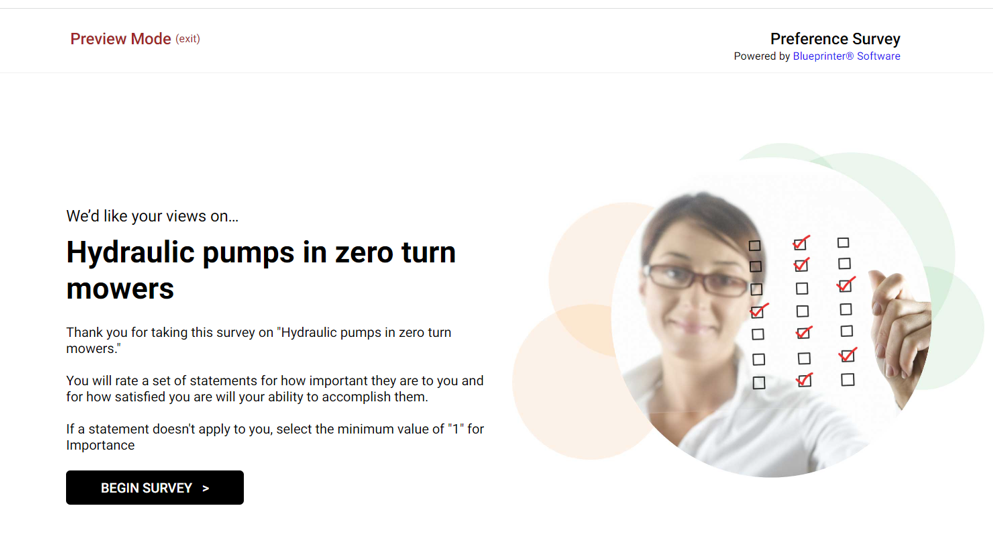
7. View of the Survey
That's it!
Let's review the sections that will be in the survey.
First, the introduction page: Note that your Survey Instructions will be visible here.
Next, the Profiling Section, in which the respondent will answer basic questions based upon what's in Settings and your sample plan.
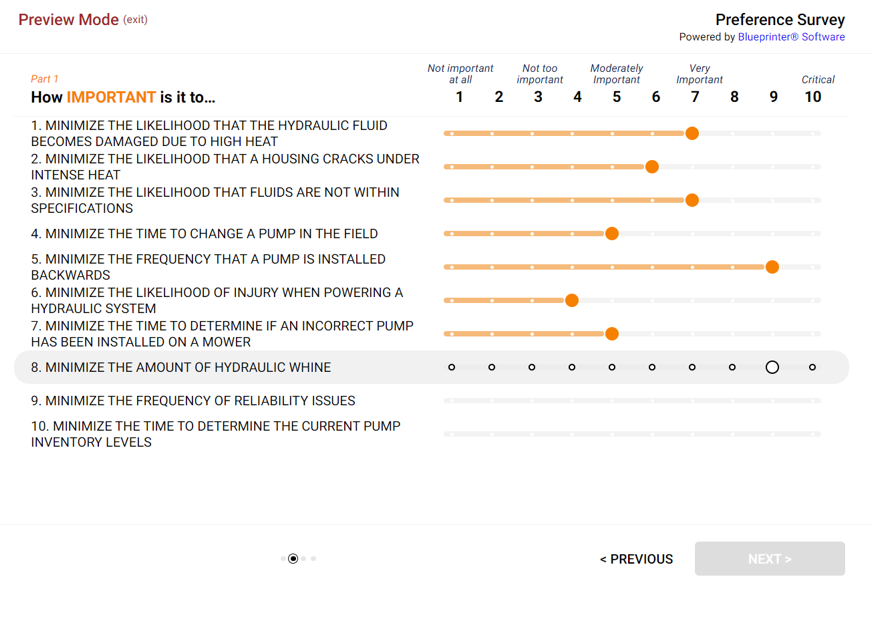
Next, Importance, where respondents will rate the importance of each outcome.
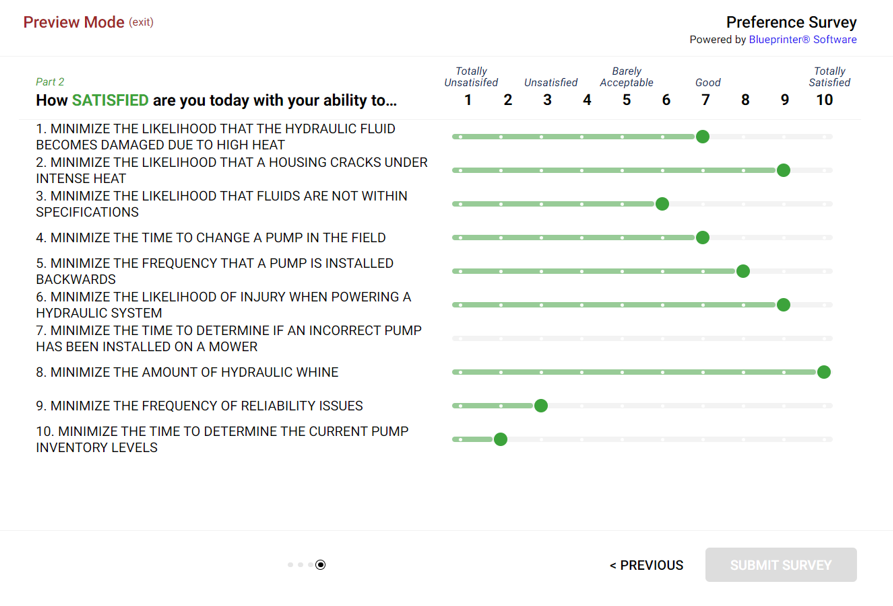
Finally, respondents will rate their Satisfaction with their ability to accomplish each one.
Tool 3.5, Conduct Preference Surveys, can greatly speed up the time to finish your Blueprinting project and is an easy way to boost statistical confidence and obtain global insights.
Would you happen to have an idea of how it can be improved? Let us know here.